|
|
|
|
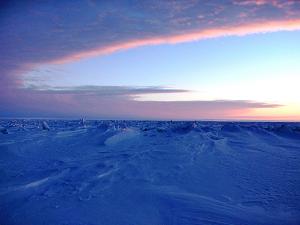
Gallery Three Picture One |
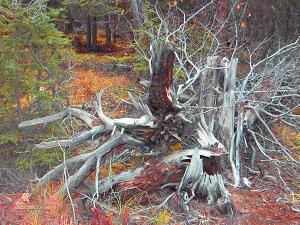
Gallery Three Picture Two |
|
|
|
|
Photo Gallery Three |
|
|
|
 |
 |
|
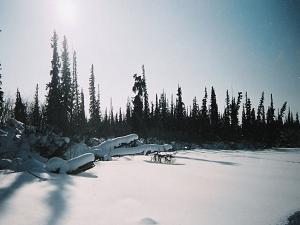
Gallery Three Picture Three |
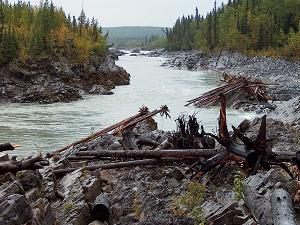
Gallery Three Picture Four |
|
|
|
|
Gallery Three Picture One |
Gallery Three Picture Two |
|
|
|
|
Photo Gallery Three |
|
|
|
|
|
|
|
Gallery Three Picture Three |
Gallery Three Picture Four |